Ditch The Dents: Secrets To A Smooth, Showroom Finish
Each minor imperfection on your vehicle diminishes its pristine, showroom allure, but achieving that immaculate appearance is more straightforward than it appears. In Ditch the Dents: Secrets to a Smooth, Showroom Finish, we uncover the expert strategies and insider knowledge that can transform damaged body panels into gleaming masterpieces.
With insights on paintless dent elimination and professional polishing methods, this guide serves as your pathway to a car that shines as brilliantly as the day it first hit the road.
Know your dent: assess type, severity, and paint condition
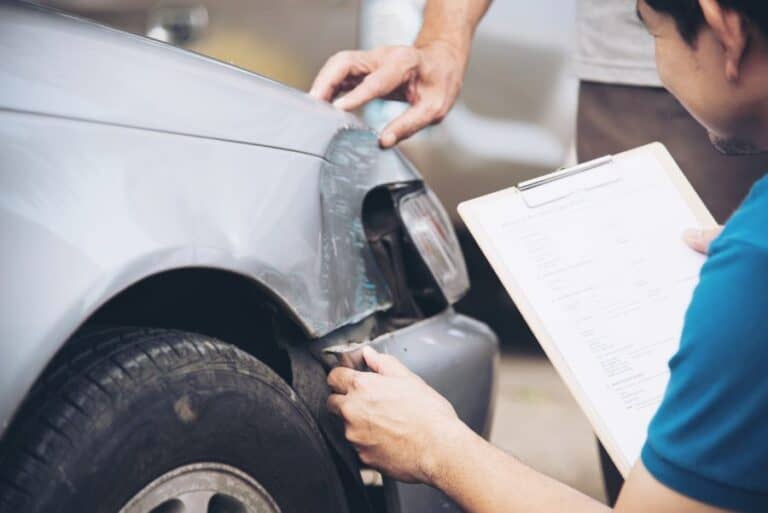
Every successful dent repair starts with a thorough assessment. Determine whether the damage is a minor ding, a pronounced crease, or an elongated crown with elevated areas. OEM finishes that are intact are best suited for paintless dent repair, whereas areas with cracks or chips typically necessitate traditional bodywork. Inspect panel edges and body lines, as dents react differently on reinforced metal.
Use raking light or a line board to identify distortions and raised areas, and gently tap to check for previous filler or metalwork. It’s also important to consider paint compatibility, as older repaints or certain types of automotive paint may interact adversely with primers or clear coats.
Small dents from hail, minor parking lot impacts, and slight door creases generally respond well to pulling techniques or paintless repair methods. In contrast, more severe collision damage, such as kinks, torn edges, or stretched areas, typically requires panel repair, filler application, and block sanding. If rust or bare metal is present, ensure you prepare the surface appropriately, apply primer, and finish with a carefully controlled coat to achieve a smooth and lasting repair.
Inspection checklist that saves time
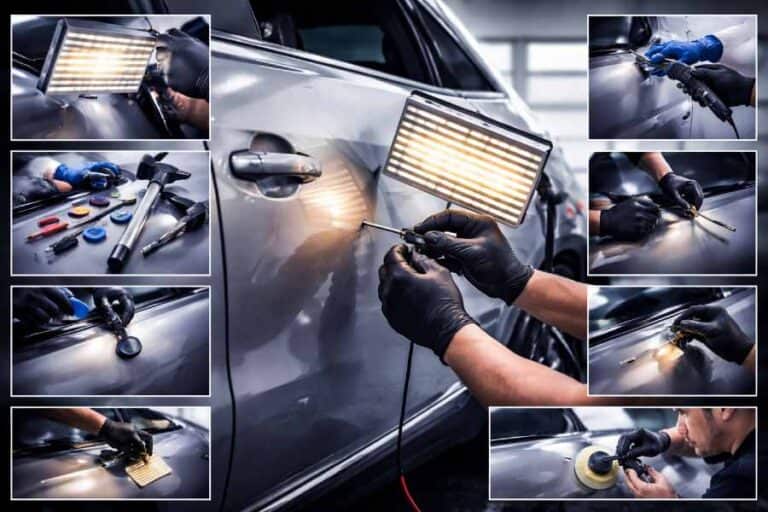
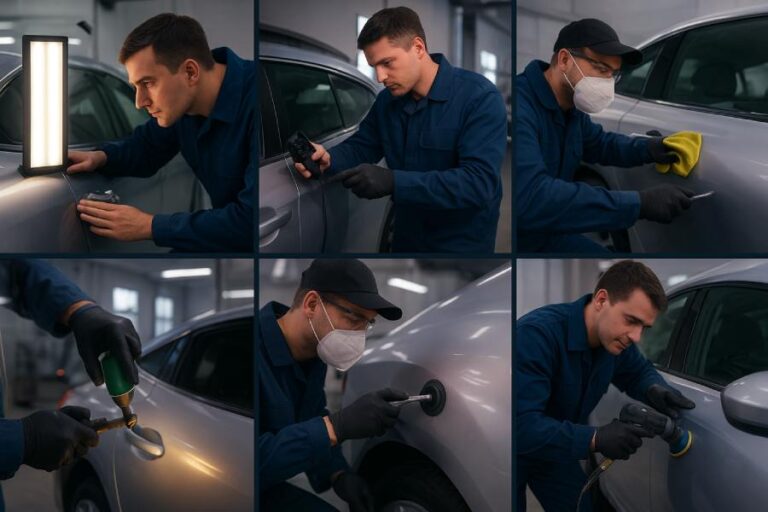
To properly evaluate a dent, adjust a portable light to cast across the panel; the shifting reflections will help identify areas of elevation and depression that might be overlooked from a direct angle. Check the paint for any signs of damage such as cracks, chips, or peeling. Keep in mind that damaged clear coats require traditional bodywork instead of paintless dent repair.
Additionally, outline the metal surface by marking the centers of dents, raised areas, and body lines with a grease pencil to direct the dent removal process and subsequent sanding.
Choose the right method: PDR, glue pulling, or traditional bodywork
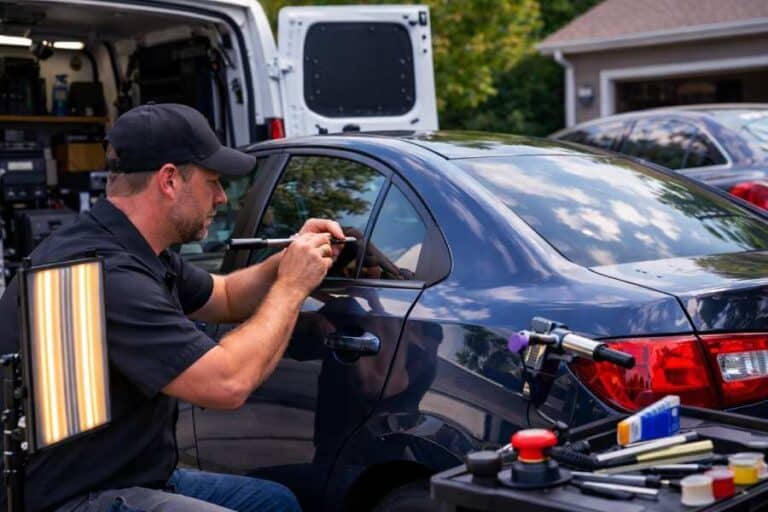
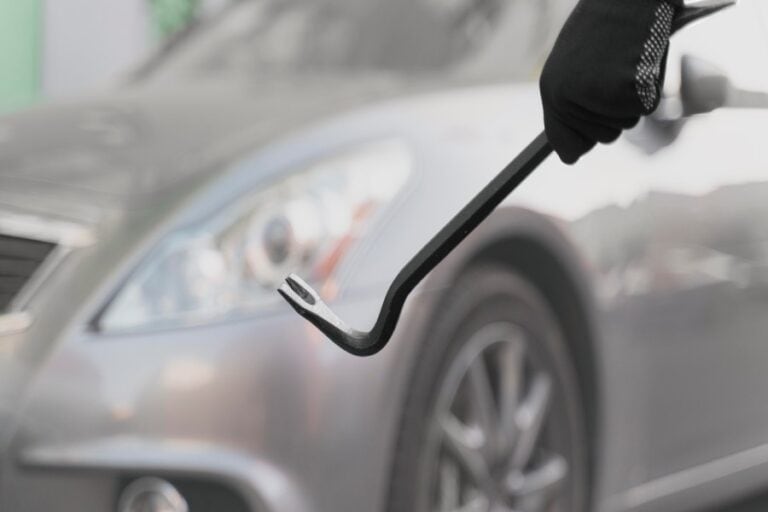
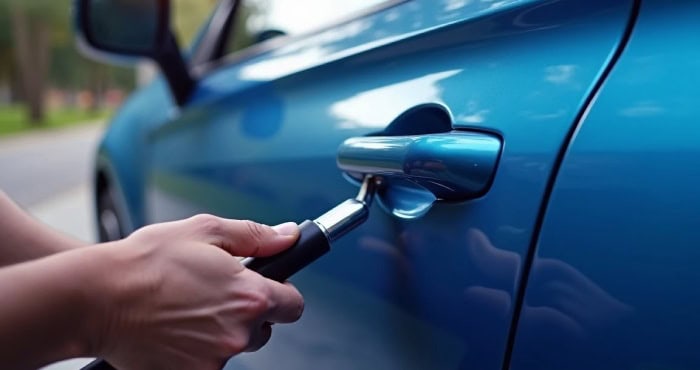
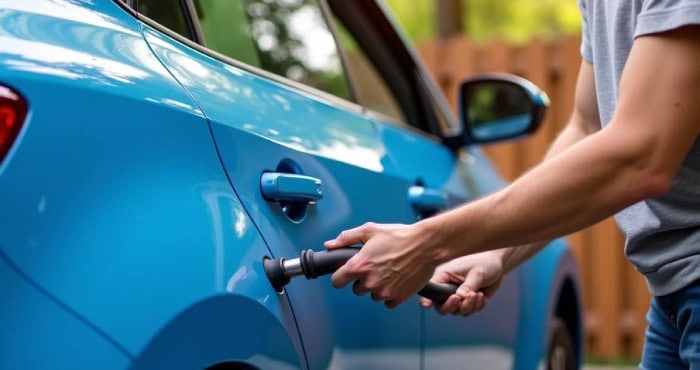
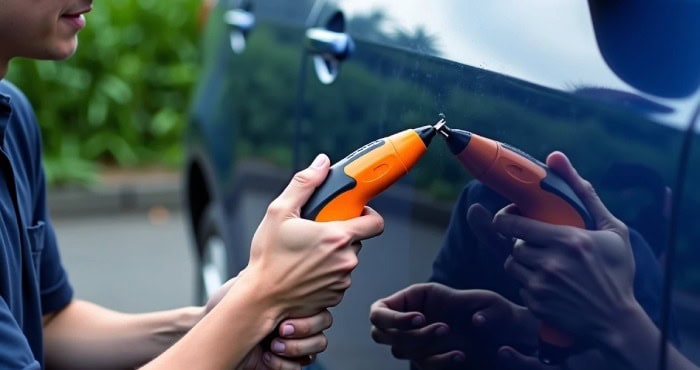
For small, accessible dents with sound paint, PDR is often the cleanest dent repair. Pros trained via Dent Discount – PDR Training or creators like Door Ding Removal demonstrate push tools and glue tabs that massage the sheet metal without paintwork. If you’re unsure whether PDR fits your scenario, consult a specialist at Paintless Dent Repair for guidance.
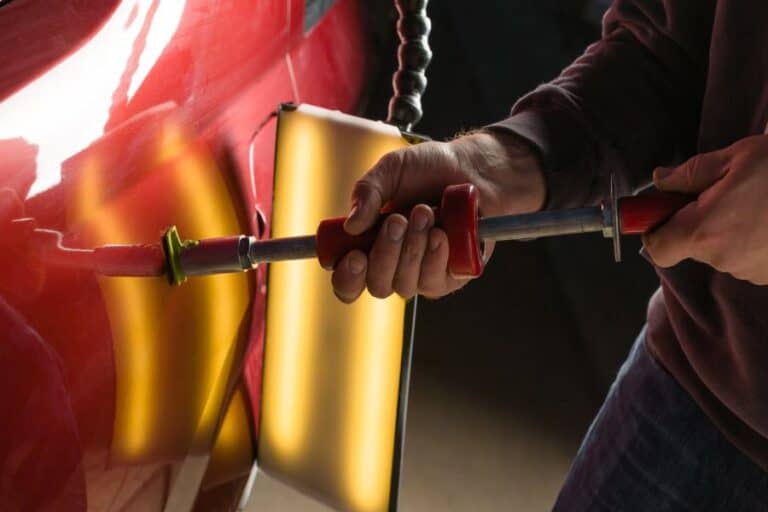
Glue pulling is a solid middle ground for a car panel where you can’t reach behind. It’s particularly useful along wide flats and gentle body lines. However, sharp creases at hard edges may spring back, needing controlled heat and careful tapping to relax tension before pulling dents again.
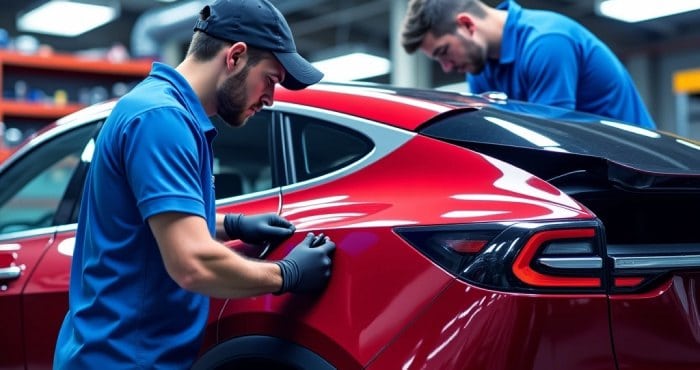
Traditional bodywork shaping, body filler, block sanding, and repaint remains the standard for stretched metal, cracked finishes, and severe creases. It’s the route favored when longevity, color match, and texture must be perfect.
When traditional bodywork wins
- Paint is fractured or lifted.
- A crease crosses reinforced body lines or hard edges.
- The panel has prior metalwork and filler that complicates PDR.
- The dent spans a broad area that would ripple if only pulled.
Creases on body lines
- These often need metalwork to relax tension, a thin skim of Bondo or lightweight glaze, and meticulous block sanding to restore the line.
For quick, localized results on daily drivers, door ding dent repair can be the fastest path to a tidy finish on intact paint.
DIY essentials: tools, setup, and step-by-step for minor dents
With the appropriate tools, a tidy work area, and meticulous sanding, even newcomers can achieve impressive results in dent repair. Essential materials consist of sandpaper ranging from 80 to over 600 grit, a block sander, masking supplies, fillers such as Bondo, and thorough surface preparation involving degreasing and feathering.
YouTube channels like Garage Noise, Refinish Media, Life of Adolfo, and Paint Society provide detailed tutorials on panel repair, sanding techniques, and blending finishes.
Step-by-step for a pea-to-quarter size dent
1) Access and assessment: Remove inner trim if needed for tool access. Identify high spots and crowns, and relax them with a small tap-down.
2) Pulling and shaping: Try gentle glue pulling dents in stages; work from the perimeter inward. For stubborn centers, a few PDR pushes can lift lows without over-stretching sheet metal.
3) Filler application: After metalwork, sand the area with 80–120 grit to expose clean metal. Mix body filler per spec, spread thin, and shape with a long block. Skim with glaze to chase pinholes.
4) Primer and guide coat: Apply primer over the repair and feathered edges. Dust on a guide coat to expose highs and lows during block sanding.
5) Sanding techniques and feathering: Use cross-hatch block sanding with progressively finer sandpaper (180–320–600) to level the repair. Keep the block flat to preserve body lines on the car panel.
Finish like a pro: sanding, blending, color-matching, and polishing
Achieving perfect finishes demands a combination of patience, meticulous preparation, and appropriate sanding. Begin by cleaning with a solvent, using a tack cloth, and extending your masking to conceal blend lines. Next, apply primer and block sand to preserve the panel’s contours.
For accurate color matching, utilize spray-out cards and follow proper techniques. Resources such as Paintucation by Kevin Tetz and Refinish Media provide guidance on managing the spray fan, overlap, and distance to ensure smooth, drip-free results.
Spray setup and technique
Set your compressor regulator for stable pressure, then tune your paint gun or electric spray gun so atomization is even and the fan pattern suits the panel size. Practice your spray techniques on a test panel to perfect overlap and speed.
- Optimizing atomization: Fine-tune the nozzle and liquid to achieve a moist yet precise spray, avoiding issues like orange peel or drips.
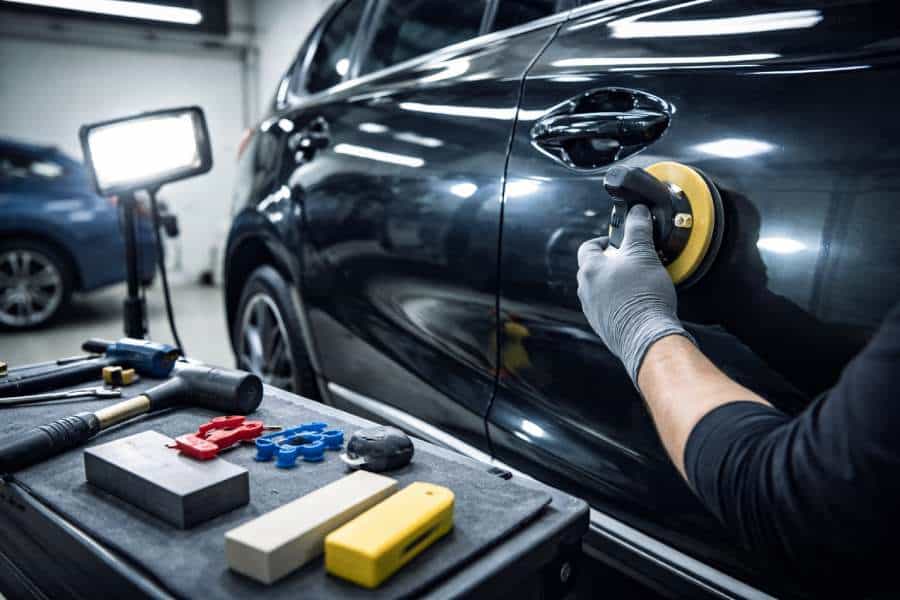
- Buffing process: Sand gradually using grits from 1500 to 3000, then polish gently, ensuring the edges remain cool.
To attain a perfect, showroom-quality appearance, you need careful attention to detail, a lot of patience, and the correct methods. Even slight dents or scratches can be remedied with the appropriate tools and techniques. By implementing these tips, your vehicle can shine just like it did when it first left the dealership.