10 Proven Steps For Perfect Auto Body Dent Repair Results
Restoring a vehicle’s flawless finish after body damage requires the right approach, techniques, and body repair tools. Whether you’re a diy auto body enthusiast tackling a car dent or looking to master auto body repair basics, this step by step guide will help achieve seamless dent repair results. Trusted by body shop professionals and YouTubers like Garage Noise and ChrisFix, these proven steps blend traditional methods with modern techniques for reliable results on any body panel.
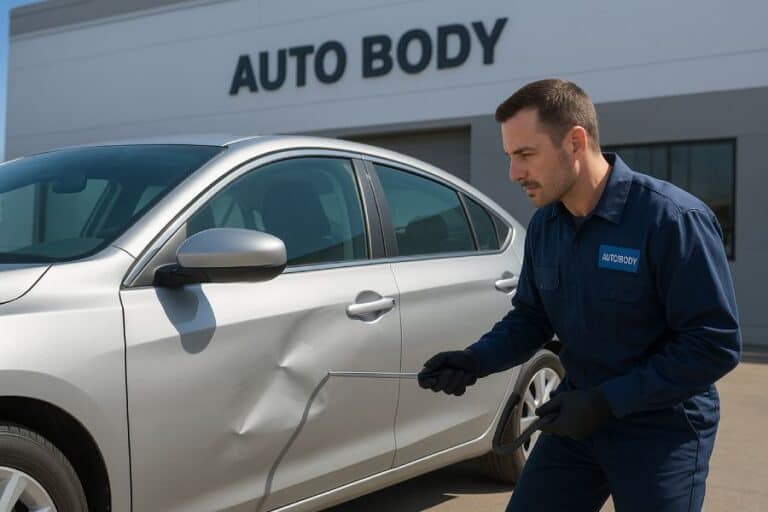
Step 1: Assess the Dent and Choose the Right Repair Method
Begin every car dent or panel repair with a thorough assessment. Not all body damage is the same—understanding the dent’s depth, location, and whether rust repair or panel replacement is needed is crucial. Is it a small dent repair, bumper repair, or a case for big dent repair?
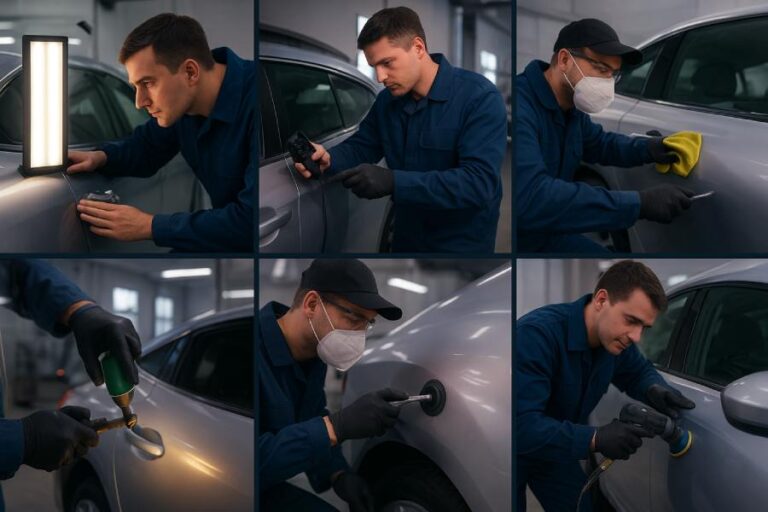
For shallow, accessible dings, paintless dent repair (PDR) is often the best choice, preserving the car’s original finish and handling scratches that haven’t damaged the paint. Deep or creased dents usually need traditional repair with body filler and more prep work. Advanced technicians like AutobodyTech and Mechanic Han use digital gauges to assess damage before deciding on the method.
Step 2: Gather Essential Tools and Safety Gear
Quality DIY auto body results rely on using proper repair tools and prioritizing personal safety. Invest in a reliable dent puller (such as Astro or Amazon) and body files, and use trusted sanding tools like Mirka, favored by experts like Bozi Tatarevic.
Key tools you’ll need:
- Body hammer and dolly set for metal manipulation
- Slapping file and body file for leveling
- Dustless sanding system to minimize contamination
- Protective gloves, safety glasses, and a dust respirator
- Body shop–quality sanding blocks and a primer-compatible paint gun (Sagola spray gun or 3M paint gun recommended for even coats)
Step 3: Thoroughly Clean the Dent Area
Before starting bodywork, meticulously clean the area to ensure adhesion of fillers and paint. Use automotive cleaner to remove wax, dirt, and oil. A clean body panel is critical for successful car dent repair and body damage repair. ChrisFix and MasterOfNone frequently emphasize in their step by step guides the importance of this simple step for avoiding surface defects during painting techniques and paint preparation.
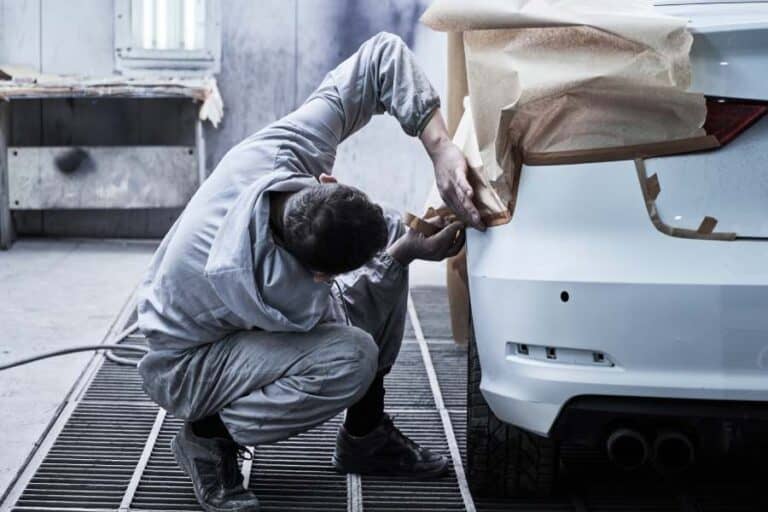
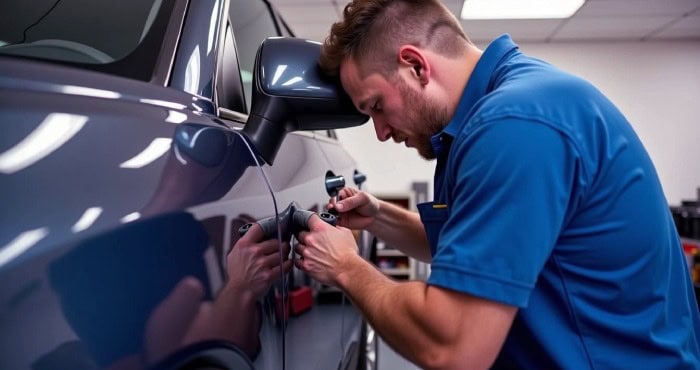
Step 4: Prepare the Surface and Remove Obstructions
Surface preparation is one of the foundations of successful auto body repair. Remove any trim, moldings, or components in the repair area to grant unobstructed access. For rust repair, grind away corrosion down to bare metal using a sanding disc or slapping file. Etch the surface lightly to help the body filler and primer bond effectively. Sanding with a dustless sanding system by 3M ensures minimal airborne dust, as SYLVESTERS CUSTOMS demonstrates in their tutorials.
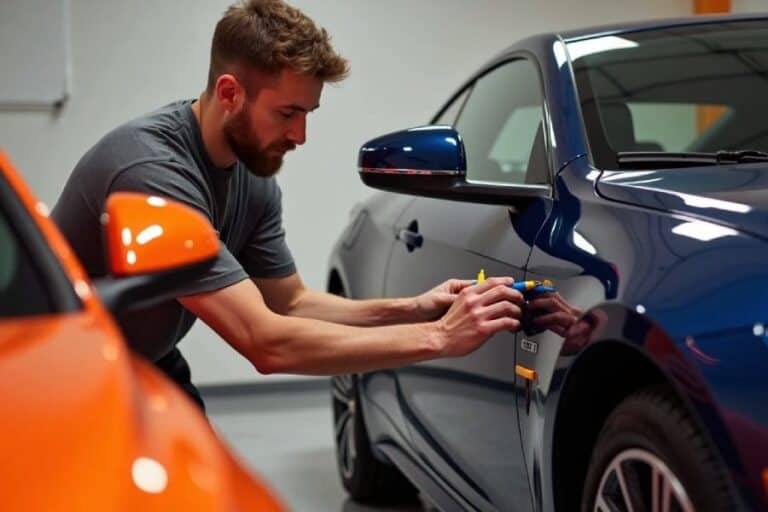
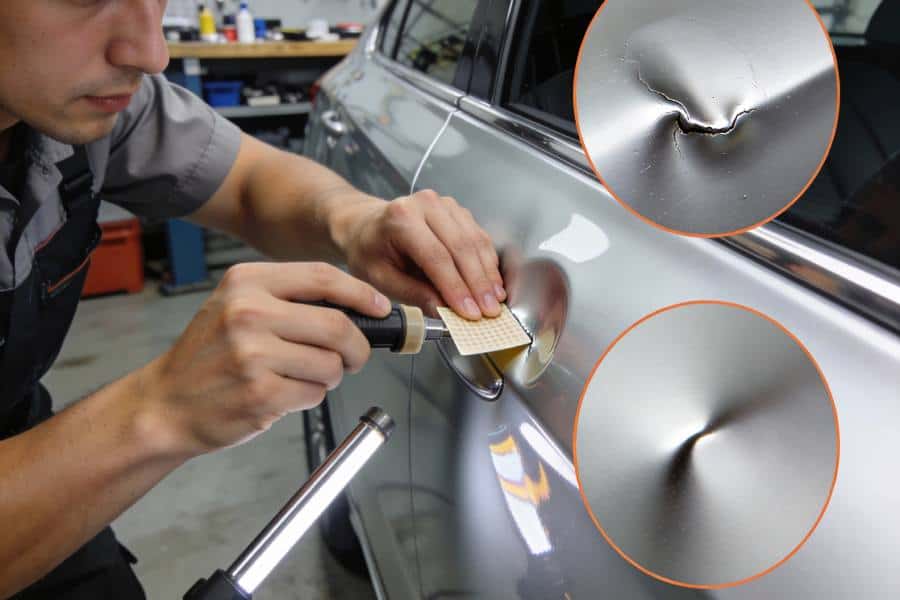
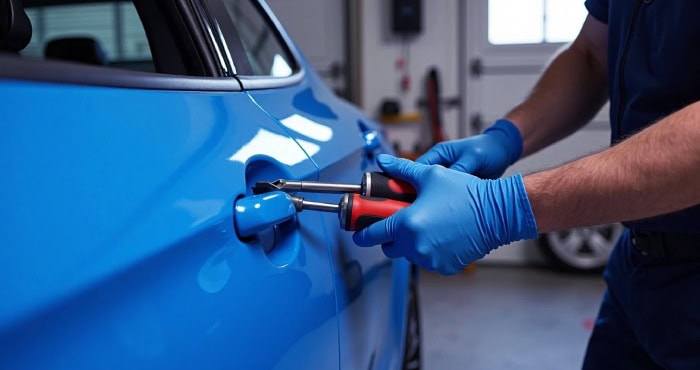
Step 5: Use Proper Dent Removal Techniques
Small Dent and Paintless Dent Repair Techniques
For a shallow car dent where the paint is unbroken, paintless dent repair is ideal. Using a dent puller or PDR rod, gently coax the metal back to its original shape. The hammer and dolly technique can further refine difficult areas, as shown by Paintucation By Kevin Tetz.
Deep Dent and Conventional Method
For creased or deeper dents, anchor the area with a stud welder or dent puller. Work the perimeter of the dent with a hammer and dolly set before addressing the center. A body file refines the contours, preparing it for filler application.
Tips From the Pros
- CVR POV recommends working slowly and steadily, checking your progress frequently for best panel repair results.
- Mechanic Han suggests using body files in one direction for a uniform finish.
Step 6: Apply Body Filler for Deep Dents
Once you’ve cleaned and prepared the panel, follow the instructions to mix a premium body filler such as Rage Ultra or Bondo. Spread a thin coat over the dent, blending the edges into the adjacent area, and use glazing putty to address any small flaws prior to the final sanding. Experts typically apply in thin layers, allowing each layer to cure properly to avoid issues like shrinking or cracking, ultimately achieving a smooth and polished finish.
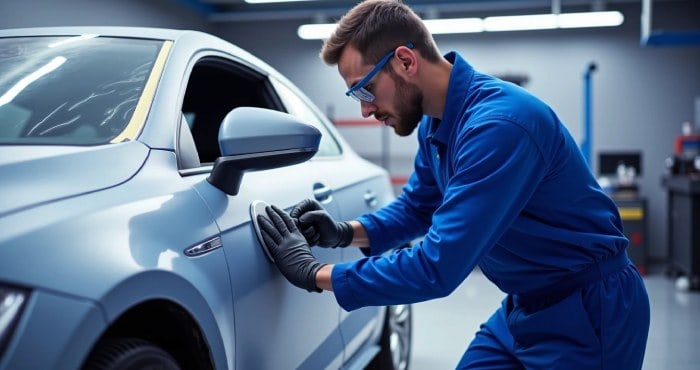
Step 7: Sand the Repaired Area Smoothly
Even thorough sanding is essential for an invisible repair. Start with coarser grit for initial leveling, then progress to finer paper for smoothing. Mirka sanding blocks are favorites among professionals like Garage Noise for their consistency. Use a dustless sanding system to prevent contamination of the bodywork.
Body sanding ensures a seamless transition between filler and undamaged areas. Employ a body file or sanding block rather than fingers for flatness—an autobody basics tip echoed by Bozi Tatarevic.
Step 8: Prime and Paint for a Seamless Finish
Proper paint preparation is critical after sanding. Use a high-build primer to cover minor imperfections and seal the body panel. West System epoxy, 3M, and Sagola offer outstanding compatibility with auto paint. Allow the primer to cure, then wet sand to produce a glass-smooth finish.
To achieve a uniform finish, opt for a premium paint sprayer, such as 3M or Sagola, and adhere strictly to the manufacturer’s instructions regarding the compatibility of auto paint and Bondo. Apply several layers, ensuring you provide ample drying time between each coat for a sleek and professional appearance.
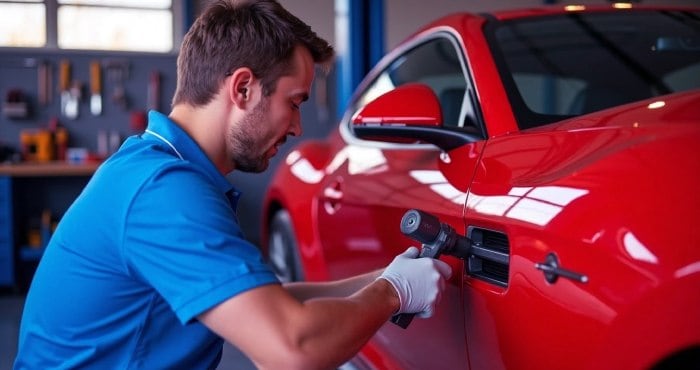
Step 9: Buff and Polish to Restore Shine
Once the auto paint has fully cured, buffing and polishing restore the panel’s original appearance. Use a variable-speed buffer with proper compounds to match the rest of the finish. This step not only enhances shine but also blends the repair into the untouched body panel—key for larger jobs like bumper repair or big dent repair.
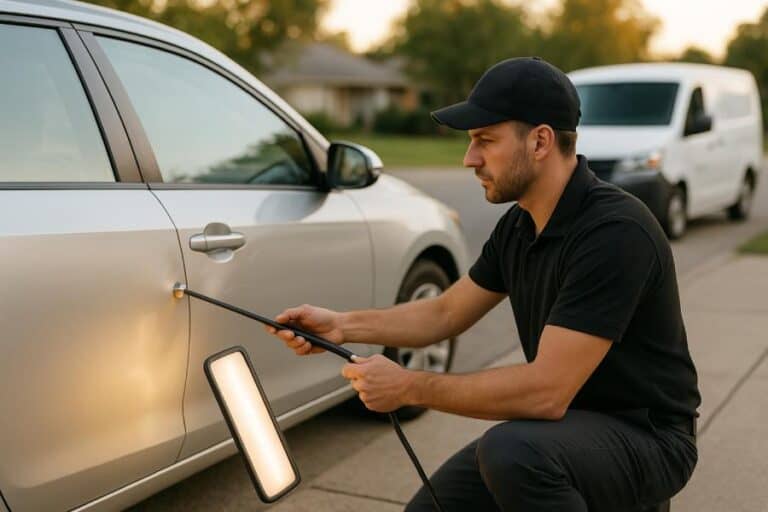
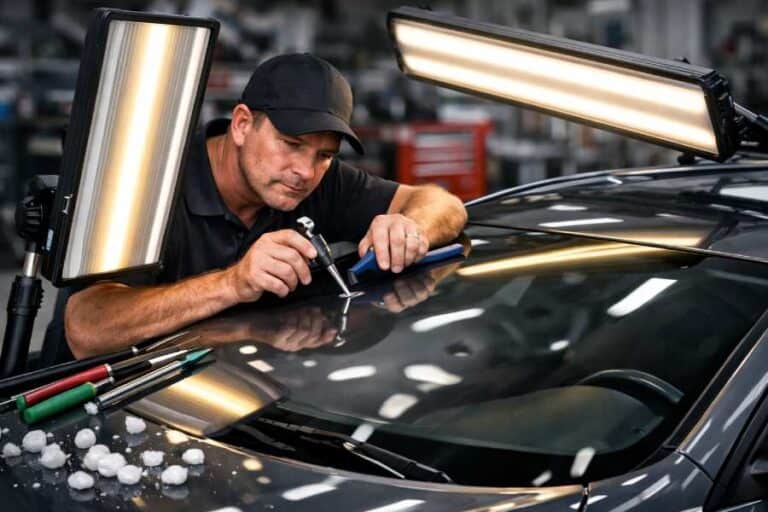
Step 10: Inspect and Maintain Your Repair Work
Careful inspection ensures long-term success of your diy auto body repair. Evaluate the area from various angles under bright light to spot any flaws. Check that the panel repair is level, the finish is consistent, and all body damage repair steps have been addressed.
Consistent upkeep, such as promptly addressing scratches and ensuring surfaces remain clean, safeguards the vehicle’s exterior and helps avert rust formation. Utilizing detailed instructions from professionals like ChrisFix and AutobodyTech can lead to high-quality outcomes, whether you’re working at home or in a workshop.